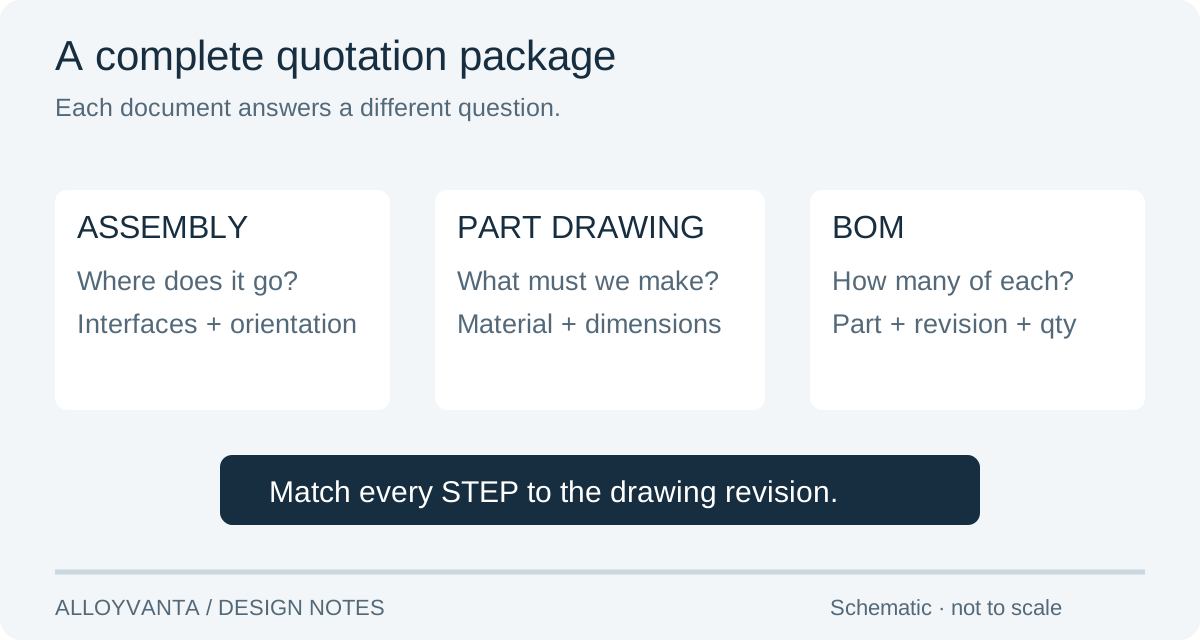
The assembly explains the relationship; the part drawing defines the item
An assembly drawing shows how components relate. An individual part drawing defines the item to manufacture: material, dimensions, tolerances, finish and other requirements. A bill of materials connects item numbers to part numbers and quantities. For a machining quote, use the documents together rather than expecting one illustration to carry every instruction.
| Document | What it answers | What to include |
|---|---|---|
| Assembly drawing | Where does each item go, and how does it fit? | Item balloons, interfaces, orientation and assembly notes |
| Part drawing | What must this individual item meet? | Part number, revision, material, dimensions, finish and acceptance |
| 3D model | What is the geometry? | STEP file matched to the released part revision |
| Bill of materials | How many of each item are required? | Item, part number, revision and quantity per assembly |
Xometry’s technical-drawing introduction explains the value of drawings for communicating geometry, dimensions and features. The purchasing task is to carry that information into an unambiguous list of parts to quote.
Worked example: 100 assemblies is not 100 of every part
Suppose a bracket assembly contains one base plate, two sleeves and four purchased screws. You need 100 complete assemblies. The quantities are 100 base plates, 200 sleeves and 400 screws. If you only write “quantity 100,” the recipient cannot tell whether you want assemblies or individual machined parts.
| Item / part number | Per assembly | For 100 assemblies | Requested scope |
|---|---|---|---|
| 1 / BASE-01, Rev B | 1 | 100 | Machine and inspect |
| 2 / SLEEVE-02, Rev A | 2 | 200 | Turn and inspect |
| 3 / SCREW-03 | 4 | 400 | Customer supplied; exclude from manufacturing quote |
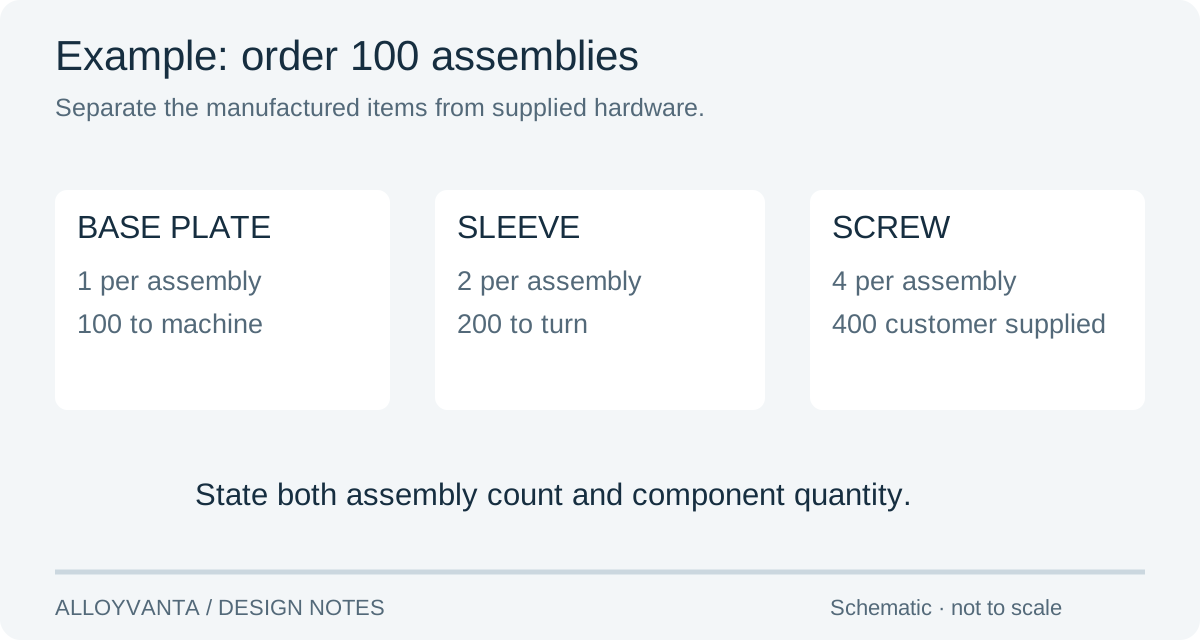
That last column matters. A bill of materials lists what the product contains; it does not automatically establish who supplies each item or whether the supplier assembles it. Ask for loose components, an assembled unit or another defined deliverable. Identify purchased hardware separately so it does not quietly disappear from the scope.
Production orders start at 100 pieces per part number, counted separately for each part. Prototypes and sample parts are quoted from a single piece. Design-only projects are quoted separately. Count production quantities per manufactured part number, not by adding unlike items together.
Keep the file set on one revision
Use the same part number and revision in the STEP filename, PDF title block and bill of materials. An assembly model may contain an older component even when the standalone PDF is current. Compare them before sending; a folder full of files does not establish which one controls production.
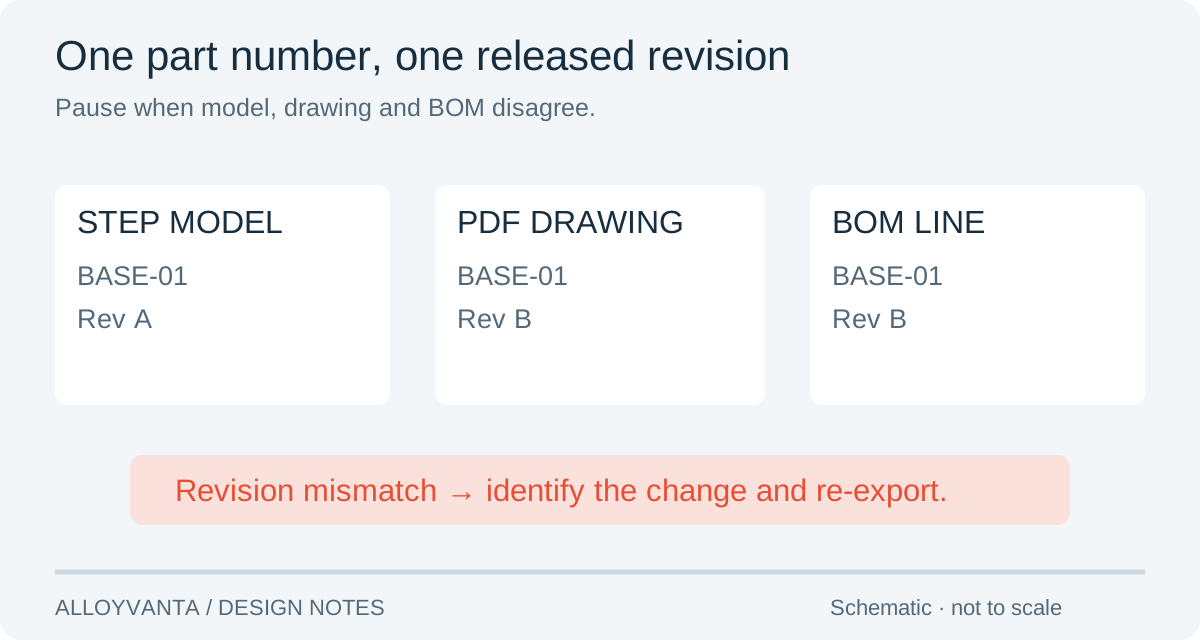
For example, the BOM and base-plate PDF say Rev B but the STEP file says Rev A. Pause the release, identify what changed and export the matching model. Do not ask the supplier to select whichever file looks newest. The change may concern a hole position that is difficult to spot visually but decisive in assembly.
Our recommendation is one clearly named release folder and a short file list. Keep superseded files outside it. If you send a replacement after an inquiry, explicitly identify which files it supersedes and request a revised quotation if the scope changes.
Show the interfaces that explain a critical dimension
A section through a sleeve and shaft can explain an otherwise ambiguous fit. An assembly view can identify the locating faces and show why a hole pattern matters. Keep the controlling dimensions and tolerances on the relevant part drawing, and use the assembly to explain their purpose.
For hidden features, add a section or detail view. For orientation, show which face points outward or receives a coating. If fastener access is important, provide enough surrounding geometry to review it. These details make design questions visible before the first part is cut.
If you only have a concept, share the assembly sketch, function, available space and mating dimensions through design support. You can approve the resulting part definitions before manufacturing rather than inventing missing details to make the initial upload look complete.
Before you request the quote
Check that every manufactured item has a part number, revision, material, quantity and agreed file set. Identify critical fits, surface requirements and requested inspection records. State whether assembly, hardware and packing are included. Add the destination and requested date so delivery can be reviewed with the scope.
Then use the CAD preparation checklist for individual files. A clear assembly package reduces the number of decisions hidden inside “make it like the picture” and gives both sides the same basis for comparing the quotation with the finished parts.
Frequently asked questions
Can an assembly drawing replace the individual part drawings?
It can explain fit and layout, but manufacturing still needs the individual part requirements. Provide those drawings or agree an alternative fully defined model-based package.
Should quantities describe assemblies or components?
State the number of assemblies and the quantity of each manufactured part. Identify customer-supplied and purchased items separately.
Can I start with only a sketch?
Yes. Choose design help and explain the function and interfaces. Attach sketches or references if available; manufacturing follows approval of the developed definition.
Method. The bill of materials, quantities and revision mismatch are worked examples, not a customer order or completed case study.